|
 |


|
Interior Reconditioning
I have been, slowly, reconditioning the interior of the BRAT. I won't go into great details on the process here, as this is more of a photo record of what has been happening. Suffice it to say that the process is very easy. I bought VHT dye from Summit Racing; it comes in a variety of colors, and is nearly idiot-proof. I have been light sanding, washing, cleaning with solvent, and then spraying the pieces. It's not paint but a dye- it doesn't run, it dries quickly, and the results are amazing. Not too bad for $8 a can. I will have used 3 cans of Charcoal Gray (doors, center console, dashboard, etc) and two cans of light gray (seats and ceiling) by the time the entire interior is done.
 |
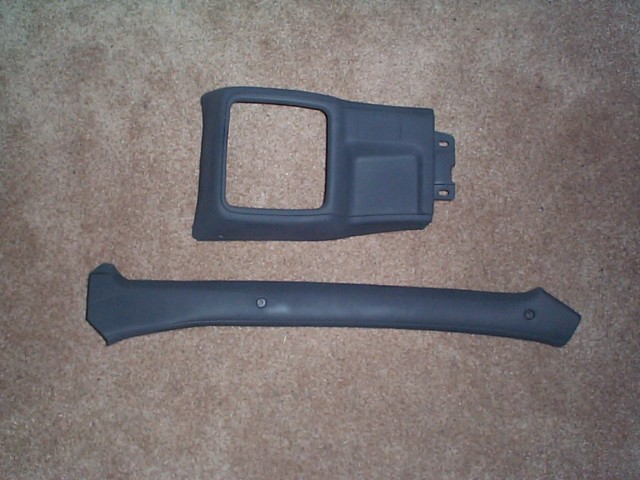
Before and after photos of a center console piece and one of the A pillar trims. |
 |
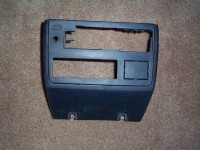 |
This is the center radio console. It was rather hacked up by a previous radio install, and I will be replacing the large section I cut out with colored lexan and a new radio, plus switches for things like the work lights, driving lights, and winch. |
 |
 |
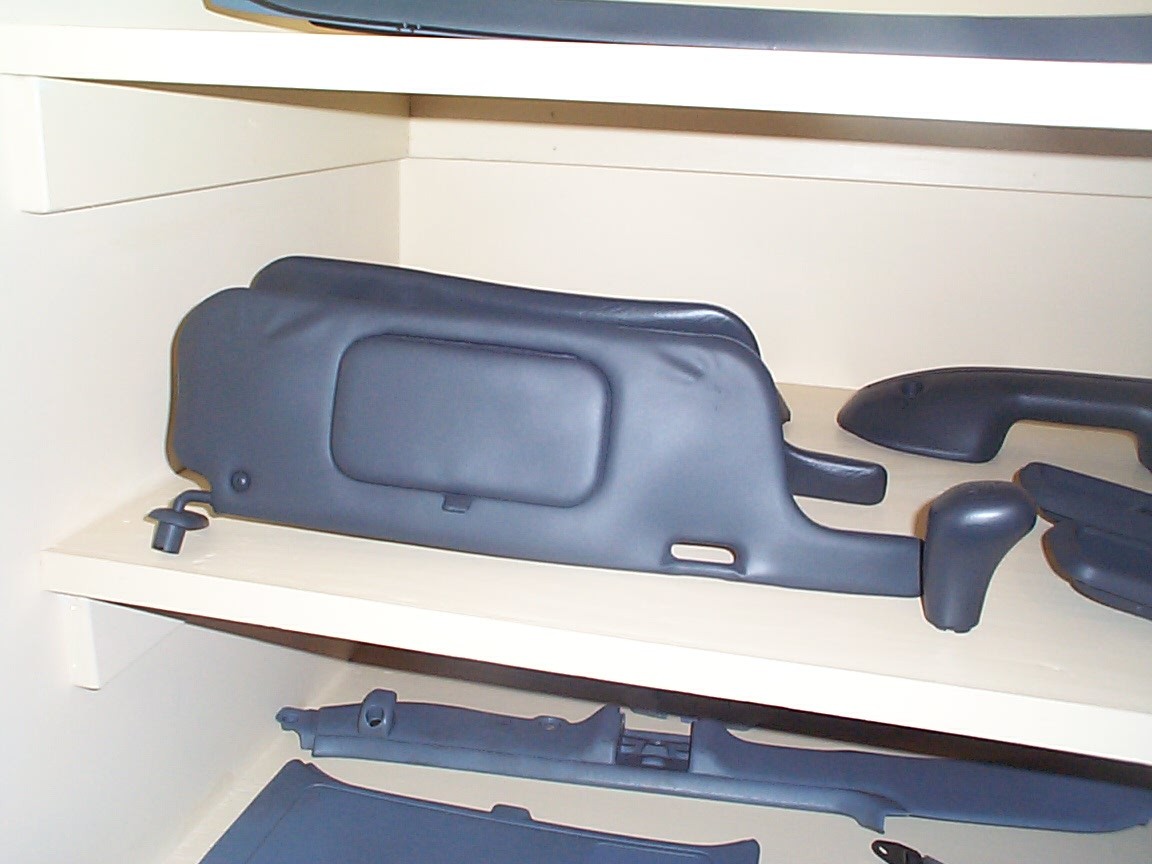
Both of these photos feature "before" shots mostly overhead/headliner trim pieces. |
 |
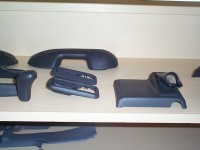 |
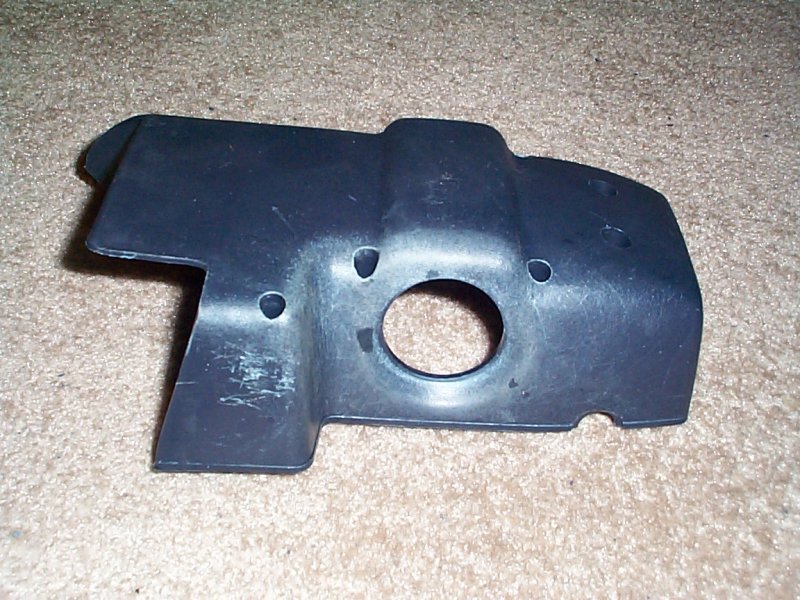
These are more "after" photos, mostly of lower trim/console pieces. |
 |
 |
After photo and a closeup of the reconditioned dash bezel section. The flat black plastic cleaned up nicely (the knobs still need some work) while a fresh coat of the dark gray dye, a bit of silver trimming with a paint marker, and a touch up of the switch markings with a bit of white acrylic paint does the trick. The indicator area does still need a fresh coat of black acrylic, as you can see in the closeup photo. |
 |
 |
A little bit of "before and after" of the steering wheel. It was markedly easier to remove the wheel than I thought it would be (thankfully). The steering wheel was probably the part of the BRAT most in need of a refresher. |
 |
 |
Just a few photos of the pieces of the steering wheel trim after removal, for reference purposes later. |
 |
 |
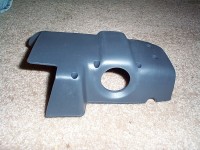
Before and after of the steering column cover- the hole is where the ignition lock passes through. |
 |
 |
Interior and exterior shots of the newly refurbished glove box door. The interior "tray" of the glove box received a similar treatment. |
 |
 |
After dyeing the trinket shelf to match the rest of the interior, I swabbed a coat of Herculiner on the "tray" portion, to keep whatever I put there in place and prevent it from sliding around. |
|
|
|
All images, items, documents, text, and content on this site are either copyright Ravensblade.com or used with permission from the copyright owner. Please do not use, alter, modify, or distribute without express permission. This site is not affiliated with Subaru or Fuji Heavy Industries- I'm just another enthusiast like you. Modification of your car involves risks and may void your warranty. I can not be held responsible for the modifications you consciously decide to undertake nor for the results of doing so.
|
|
|