This page details the steps taken to change out your brake pads. This page was written using the rear brake pads, though the fronts are done in an identical fashion. You will need a jack and/or jackstands as well as a 14mm socket wrench in order to complete the brakepad change. If you have any questions or comments, feel free to email and ask.
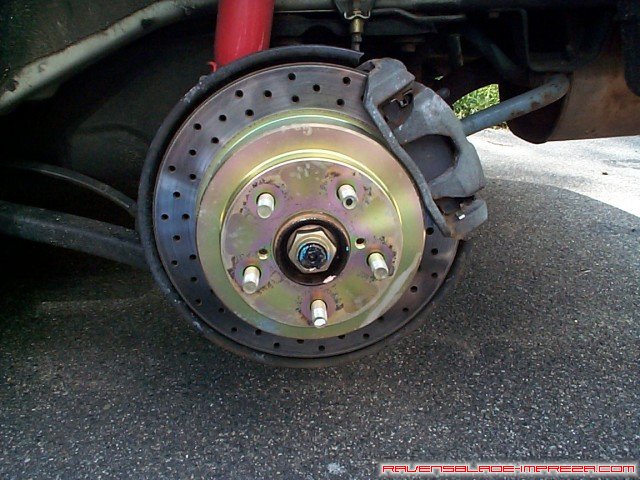
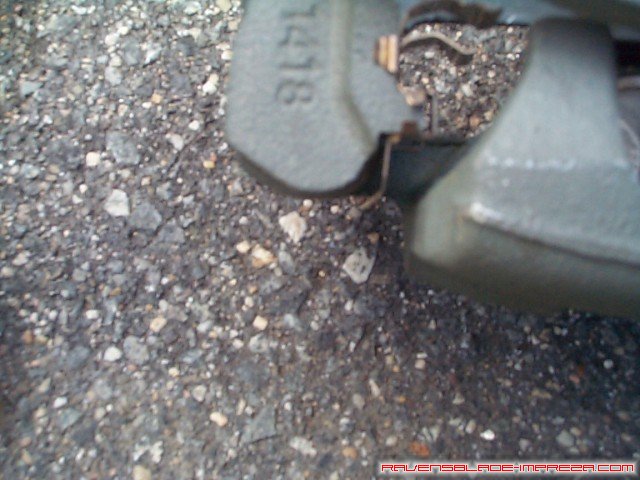
Now it is time to get to work and get messy. With the wheels off, you can get at the nitty gritty of your brakes. In the picture, you can see the rotor and the caliper- the caliper needs to come off.
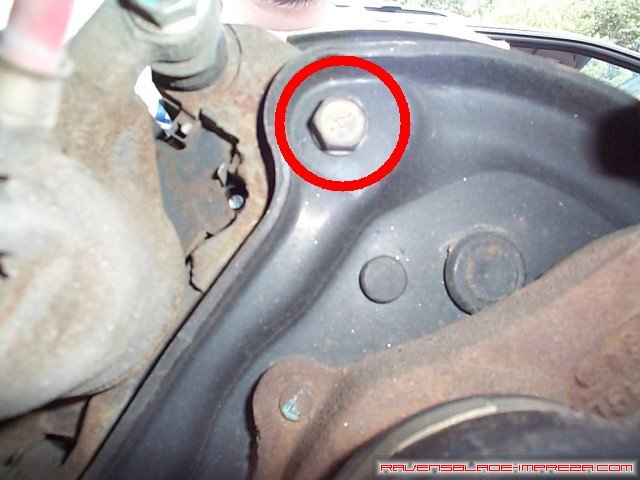
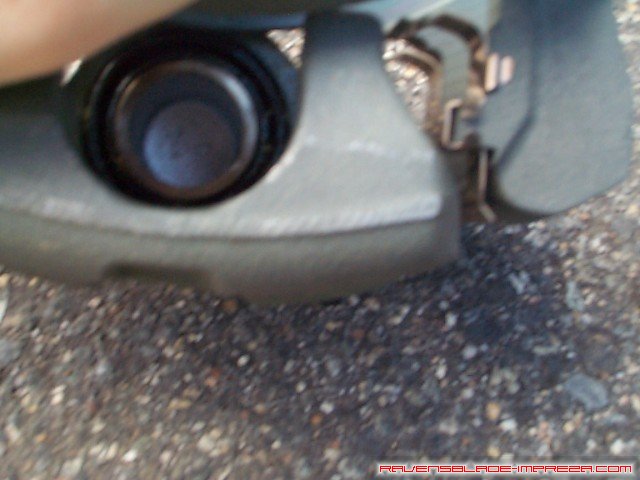
This was a tough photo to get- it is of the backside of the hub, behind the rotor and the caliper. This shows the location of the top caliper bracket bolt, which is a 14mm bolt. It is located at approximately the 12 o'clock position if you thought of the rotor like a clock. Remove it completely.
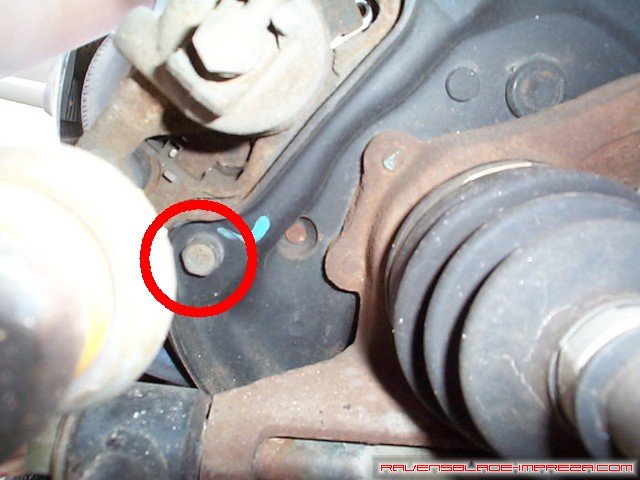
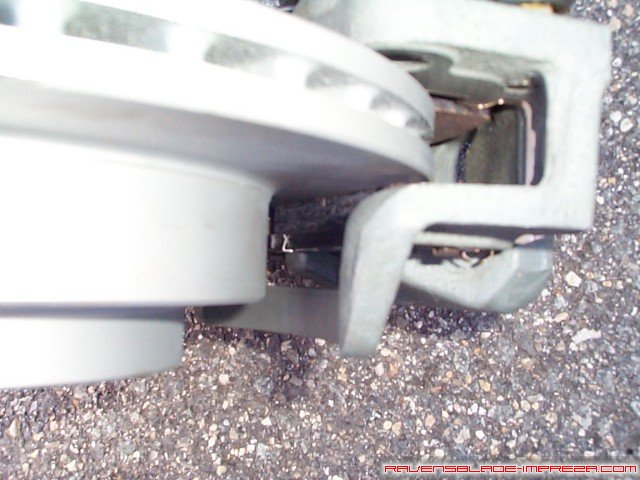
This is the bottom caliper bracket bolt, also a 14mm bolt, and it is located at approximately 5 o'clock. Remove this bolt as well. Simply "wiggle" the whole caliper and it will slide off of the rotor. Put a paint can or block of wood under the caliper to support it- do not just let it hand on the brakeline!
At this point, it is time to assemble the brakepads and place them into the calipers.

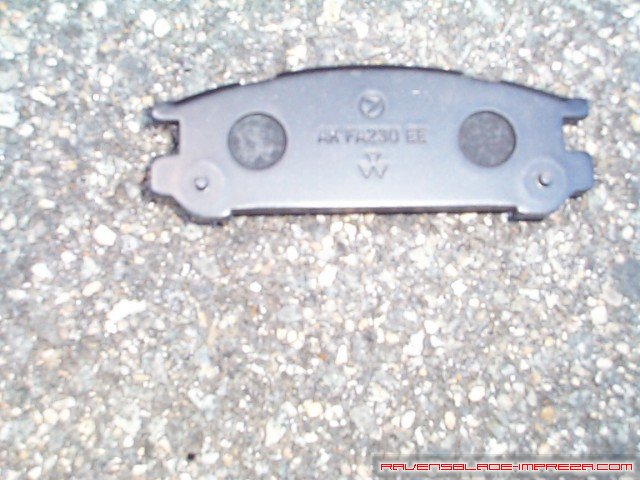
If you get a Subaru brakepad kit, you will find the four pads, four anti-rattle clips, four shields, and 2 shims. If you did not get a Subaru pad kit, you will need to reuse these items from your old pads. Place one of the shields on each one. Some people add "anti squeal" to the backs of the pads, but I do not find it necessary. With that done, you will have two pads that look like the one in the picture.

The brake pad that rests against the piston of the caliper also gets a shim- clip the shim over the shield, and you should see something like that in the picture.

This is an anti-rattle clip- it goes between the brakepads and the sides of the caliper, allowing the pads to slide more easily, hold the pads in place, and help keep the pads from making noise. They slide in on the sides of the caliper and clip in. With the new pads put together, it is time to remove the old ones. This is done by sliding the pads towards the center of the caliper, where the gap from the rotor is now. If you got Subaru replacement pads, remove the rattle clips as well, and put the new ones in their place- the simply clip in.
This is the left side installed...
...and this is the right side installed.
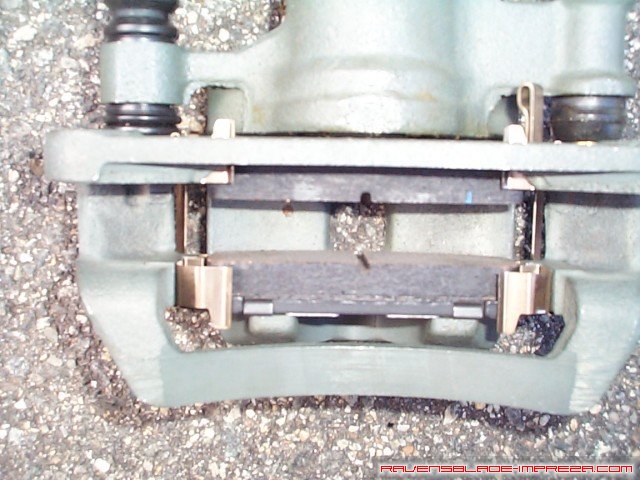
With the anti rattle clips installed, simply slide the pads into place, remembering to keep the pad with the silver shim on the piston side and the one with only the shield towards the outside.
Take the assembled caliper, start one edge of the pads on the rotor, and "roll" it on. This eliminates the need for any special tools to squeeze the caliper open. Bolt the caliper back onto the hub. With the caliper bolted firmly back on using the two 14mm bolts, it's time to put the wheels back, and take them for several gentle runs from 30mph to about 5mph to bed in the brakes. With that, you are done.
Standard Disclaimer: Modification of your car involves risks and may void your warranty. I can not be held responsible for the modifications you consciously decide to undertake nor for the results of doing so.
|
|
