This is one of my longer modifications pages thus far, detailing the steps you would take to replace the stock solid rotors on an Impreza RS. Please feel free to email and ask any questions. Comments are always welcome.
First, the part numbers you will need:
26296AA082 Brake Pad Kit
26291AA100 Disk Brake Kit Rear Right
26291AA110 Disc Brake Kit Rear Left
26310AA112 Brake Disk Rear (need 2)
SubaruProParts.com can get you all the parts you will need, and they are familiar with the swap. You can reach them at SubaruProParts.com.
Apart from those parts, you will need a 14mm socket or open-ended wrench to remove the calipers and the brake banjo bolts, a 10mm socket or open ended wrench to bleed the brakes, brake fluid (you won't need much), a jack (a floor jack would be better than stock but the stock one works), and a set of jackstands would be nice but aren't necessary. You should also invest in "the magic bolt." The magic bolt is an 8mm wide by about 2 inch long bolt used to pull rotors off of the hubs- it is $.35 you will wisely spend... trust me! I will start this off with a comparison of the stock rear RS brakes versus the vented Legacy setup.
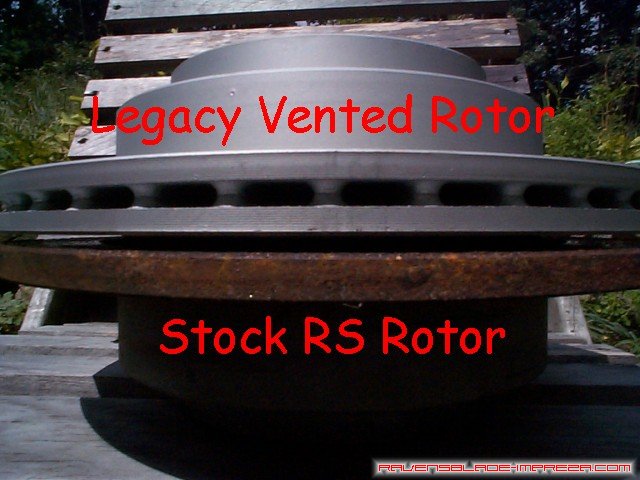
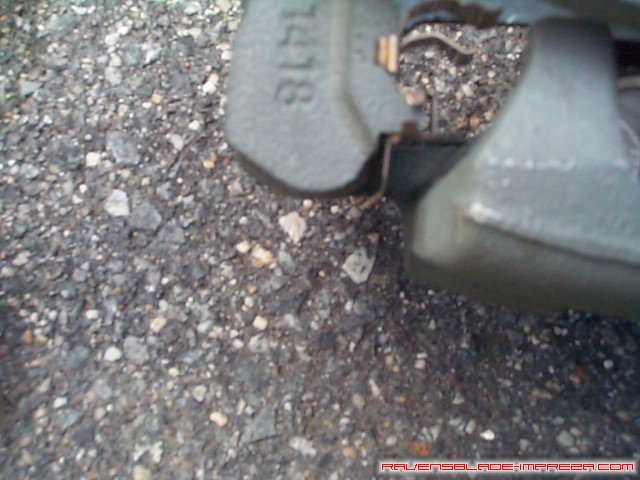
The thicker, vented Turbo Legacy rotor is on top, the stock RS solid rotor on the bottom. The Legacy rotor necessitates a larger caliper bracket and caliper. The rotor is the same diameter, though it is much thicker due to the venting.
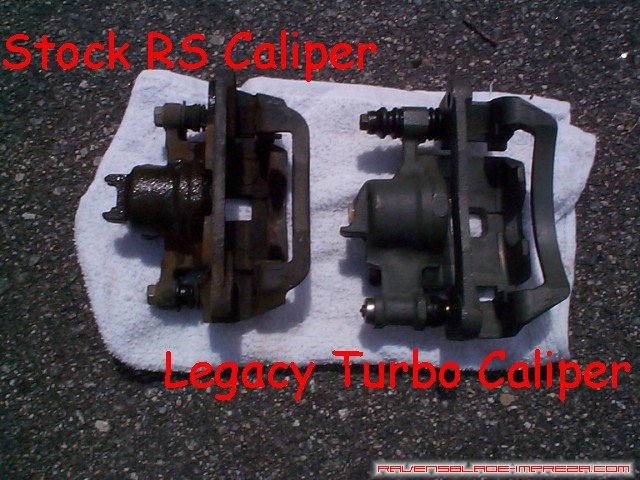
Stock RS rear caliper on the left, Legacy Turbo caliper on the right, with its larger bracket and caliper.
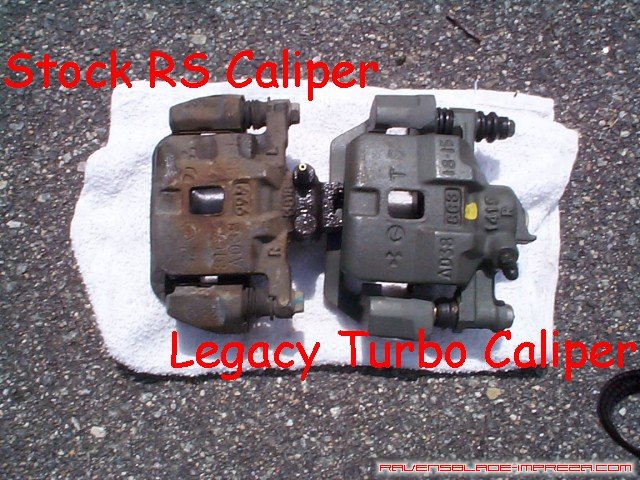
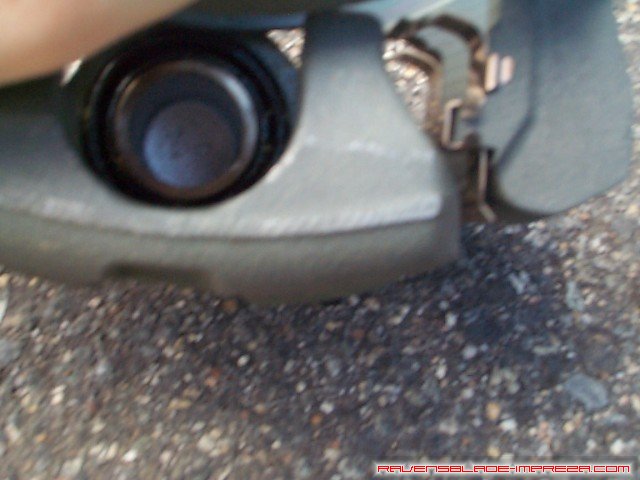
A better view of the caliper size difference.
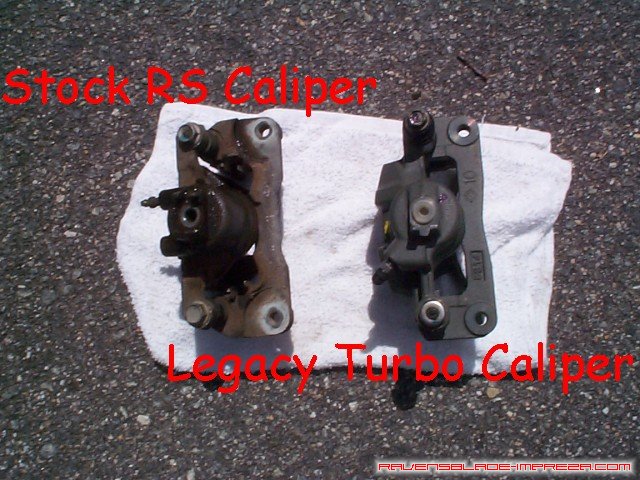
Last comparision view of the calipers showing the side you attach the brakelines to.

A comparison photo of the brake pads- the Legacy Turbo gets larger brake pads, which increases the swept area on the rotor, which would seem to indicate and increase in overall work done by the rear brakes.
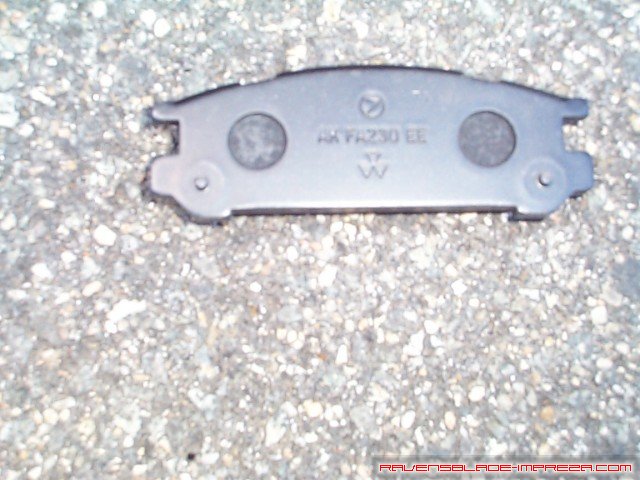
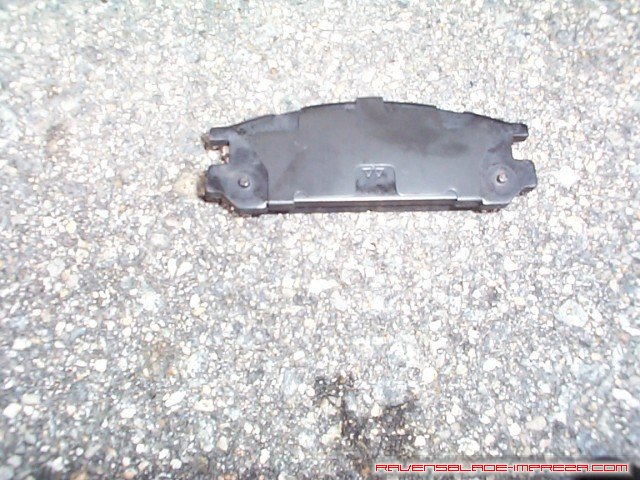
At this point, it is time to assemble the brakepads and place them into the calipers. You will start with three pads that look identical to this, and one that has a metal bracket on the back. This last one is meant to go on the right side of the car on the piston side of the caliper, though I do not know the reasons behind it.
In the brakepad kit, you will find the four pads, four anti-rattle clips, four shields, and 2 shims. Place one of the shields on each one. Some people add "anti squeal" to the backs of the pads, but I do not find it necessary. With that done, you will have two pads that look like the one in the picture.
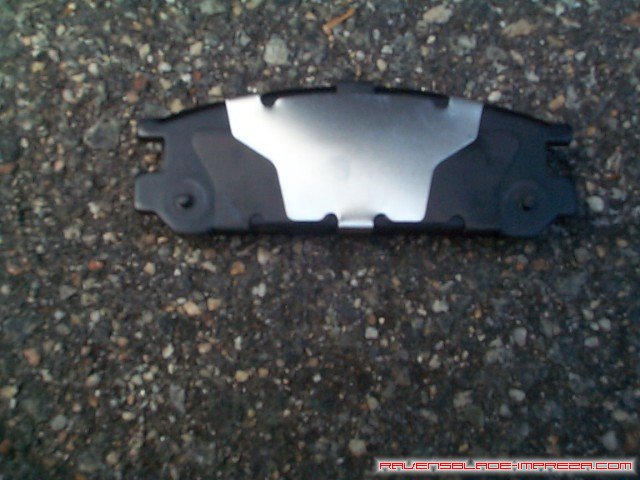
The brake pad that rests against the piston of the caliper also gets a shim- clip the shim over the shield, and you should see something like that in the picture.
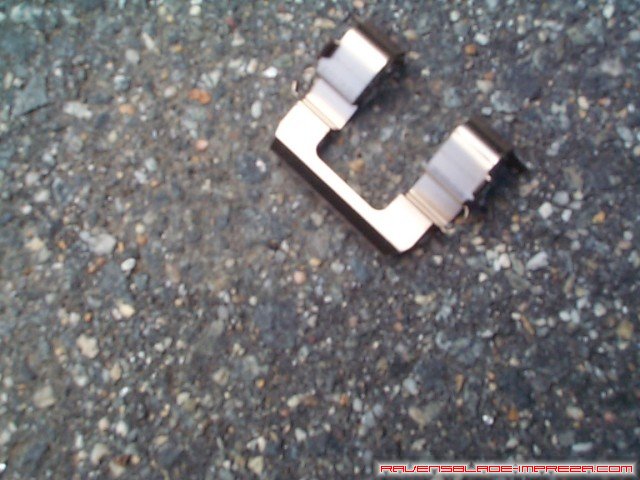
This is an anti-rattle clip- it goes between the brakepads and the sides of the caliper, allowing the pads to slide more easily, hold the pads in place, and help keep the pads from making noise. They slide in on the sides of the caliper and clip in.
This is the left side installed...
...and this is the right side installed.
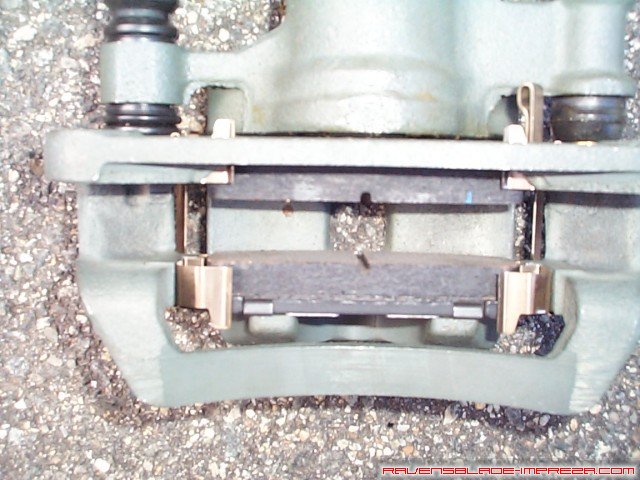
With the anti rattle clips installed, simply slide the pads into place, remembering to keep the pad with the silver shim on the piston side and the one with only the shield towards the outside.
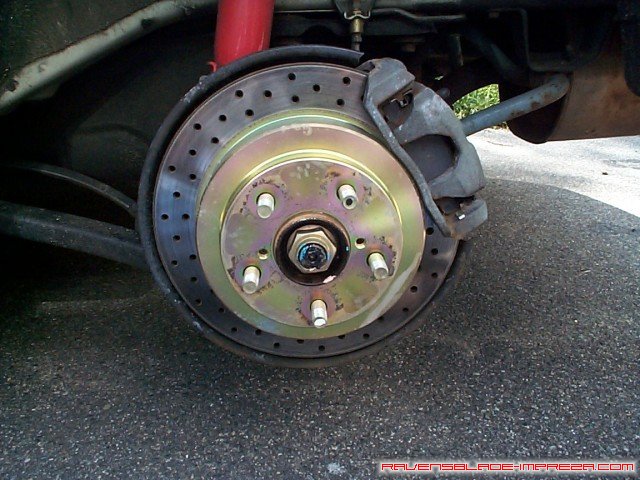
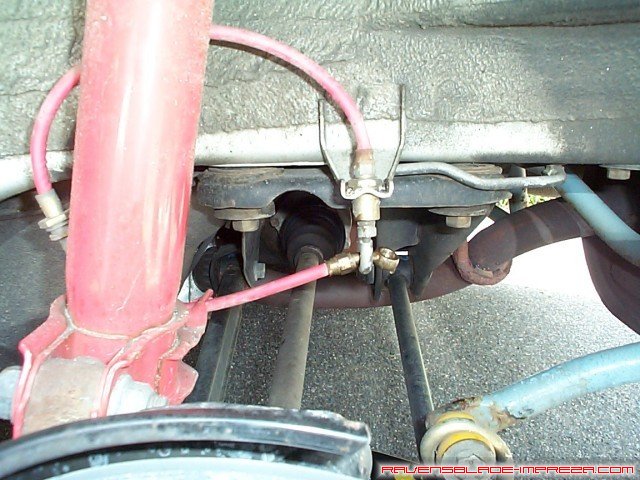
Now it is time to get to work and get messy. With the wheels off, you can get at the nitty gritty of your brakes. You will have a solid rear rotor if you have stock brakes, however I had upgraded to Brembo rotors a few thousand miles ago, hence the crossdrilled rotors in the picture.
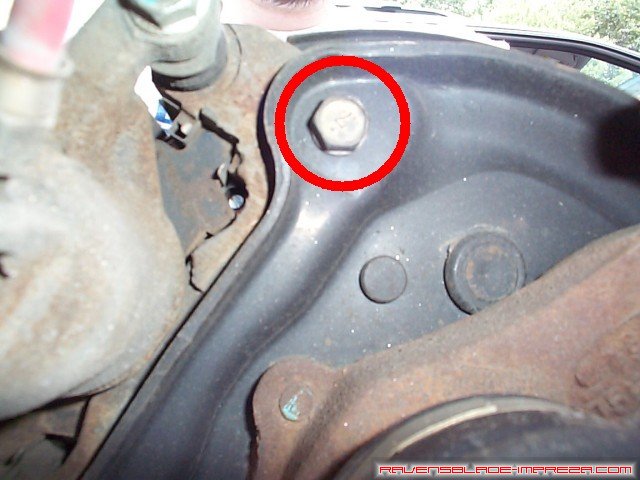
This was a tough photo to get- it is of the backside of the hub, behind the rotor and the caliper. This shows the location of the top caliper bracket bolt, which is a 14mm bolt. It is located at approximately the 12 o'clock position if you thought of the rotor like a clock. Remove it completely.
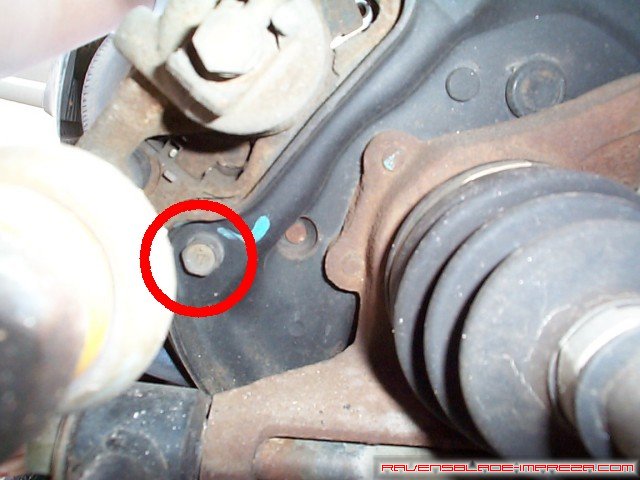
This is the bottom caliper bracket bolt, also a 14mm bolt, and it is located at approximately 5 o'clock. Remove this bolt as well.
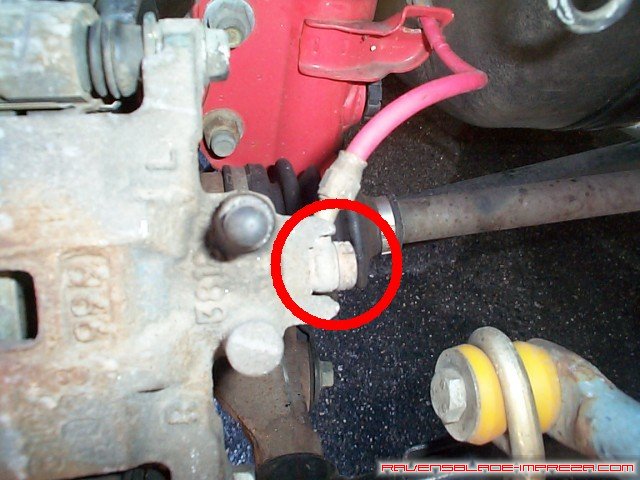
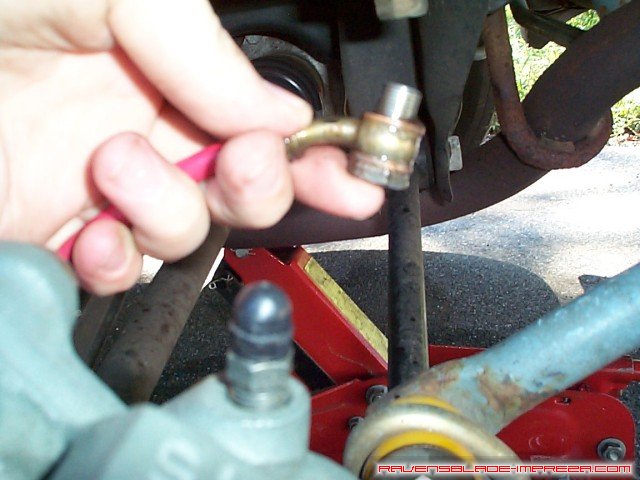
This picture is of the backside of your rear caliper, to show the location of the brakeline banjo bolt. This is a 14mm bolt. Have a container ready to catch the brake fluid, and then remove this bolt.
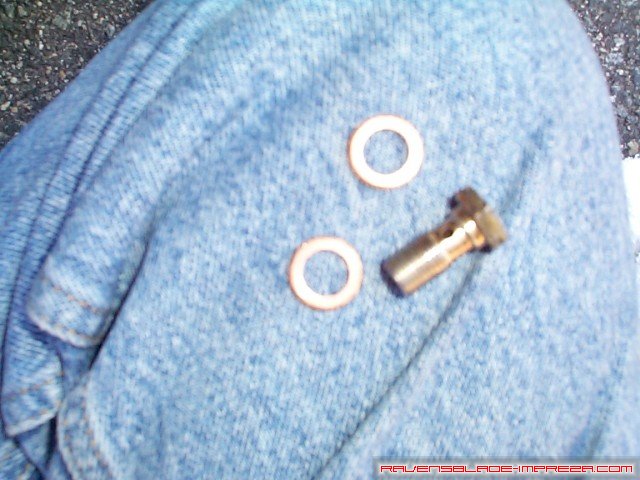
When you pull the bolt out, be careful! There are 2 flat washers that you should be able to reuse, so clean them up and put them aside with the banjo bolt.
With the bolt removed, you will want to hang up the brakeline to help keep it from leaking too much, and this is a handy spot to place it for now.
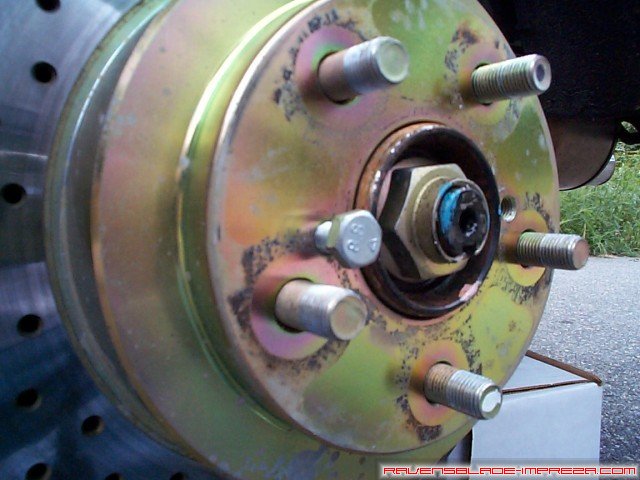
Time to get the rotors off. For starters, you need to release the parking brake, or you will spend a month of Sundays prying the rotors off of the hubs. This is where the "magic bolt" comes into play. Insert the bolt into one of the two holes in the rotor, and start tightening it down. Go about halfway, remove it, and repeat for the other other. With any luck, the rotor will pop right off. If it does not, start in the original hole and bottom out the bolt, and then repeat for the other hole. This will break the rotor free from the hub if it is rusted in place.
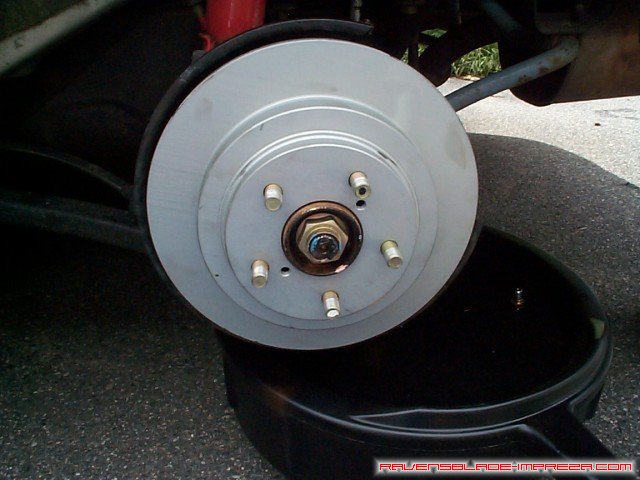
With the old rotor off, simply slide on the new Legacy Turbo vented rotor.
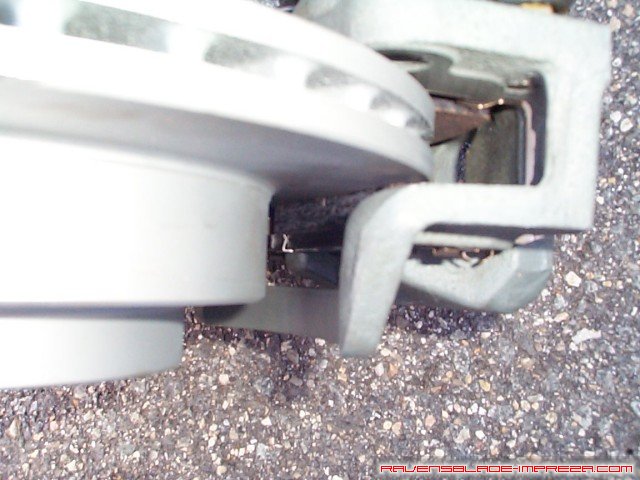
Take the assembled caliper, start one edge of the pads on the rotor, and "roll" it on. This eliminates the need for any special tools to squeeze the caliper open. Now just bolt the caliper back on. With the caliper bolted firmly back on using the two 14mm bolts, it's time to reattach the brakeline.
When you go to reattach the brakelines, make certain you have a washer on either side of the connector, so it looks like the picture- place a washer on the banjo bolt, place that through the brakeline, then the second washer, then bolt it on.
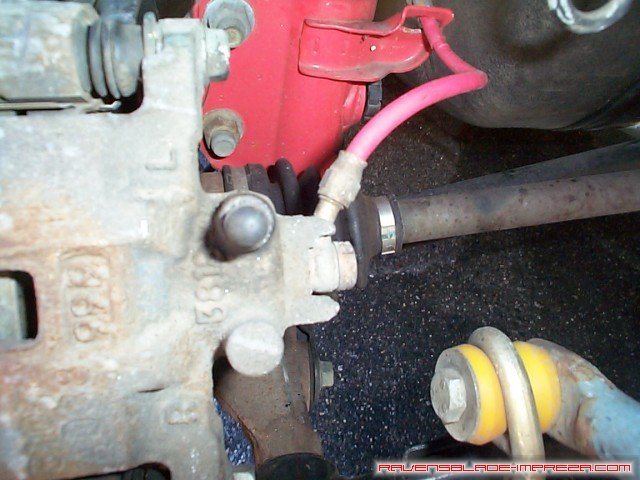
There it is, reattached and ready to go.
At this point, you will need to bleed your brakes, as outlined for you here. After that, you will need to reattach your wheels and torque them down, then take the car out and bed in the brakes and pads. That is done by bringing the car up to about 20 or 30 miles per hour, then braking under normal pressure to about 5 miles per hour. Wait about 15 to 30 seconds, and then repeat. Do this 6 or 8 times, then park the car for about an hour to let the brakes cool down. This will help prevent warping of the rotors- though it is unlikely they will warp, it cannot hurt. I would suggest rebleeding the brakes approximately one week after doing this modification, to ensure all of the air in the brake system gets removed.
Standard Disclaimer: Modification of your car involves risks and may void your warranty. I can not be held responsible for the modifications you consciously decide to undertake nor for the results of doing so.
|
|
