This modification will allow the stock front Impreza RS rotors to be changed out for the larger WRX front rotors, while keeping the stock RS calipers. Should you have any questions, please feel free to email me and I will try to answer them. I will pick up this modification from the point of already having the wheels off as well as the calipers, as this has already been documented here. Many thanks to Bill Harvey for the opportunity to document this as we went along (and for letting me drive the Impreza Turbo). This is a very easy modification to help the stopping power of your RS, and it only takes about an hour to complete, start to finish. You will only need a 14mm socket and a 17mm socket or the same sized open-ended wrenches to complete this modification. The needed parts are available from your local dealership or Mike at Exeter Subaru (1.800.540.1503 or SubaruProParts.com) for about $220 plus shipping (do not quote me on that). Those parts and their part numbers are:
Front WRX Brake Disc (You Need 2): 26310AC040
Caliper Support Bracket (You Need 2): 26225AE000
With those parts in hand, it is time to get things started.
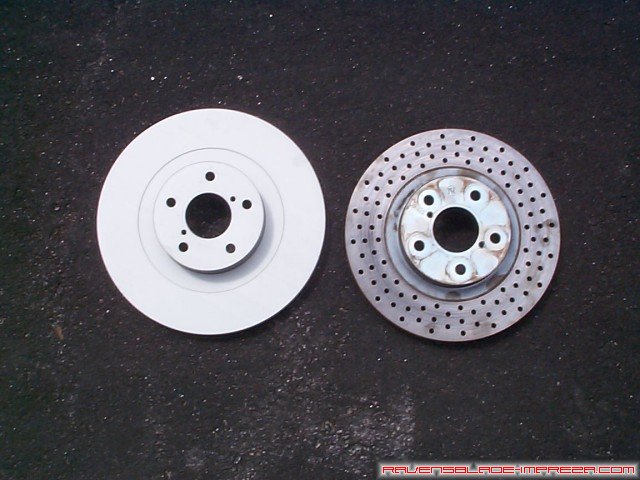
In this picture, you can compare the two rotors. While the rotor on the right is not a stock RS rotor, it is a stock-sized rotor, and you can see how it is indeed smaller than those of the WRX on the left.
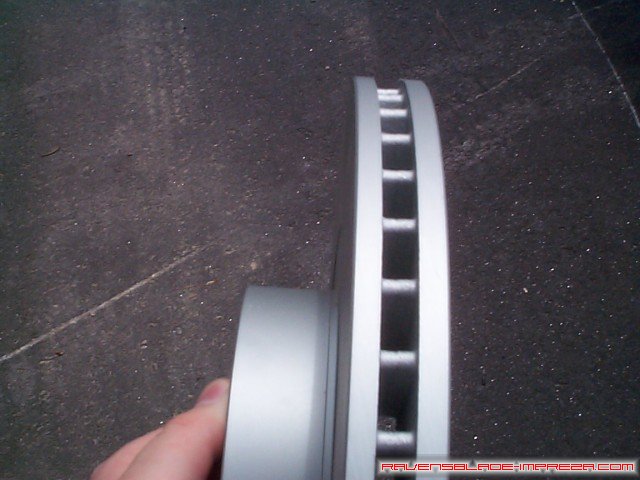
This is a side view of the WRX rotors. They are very thick and heavy, but with very good venting.
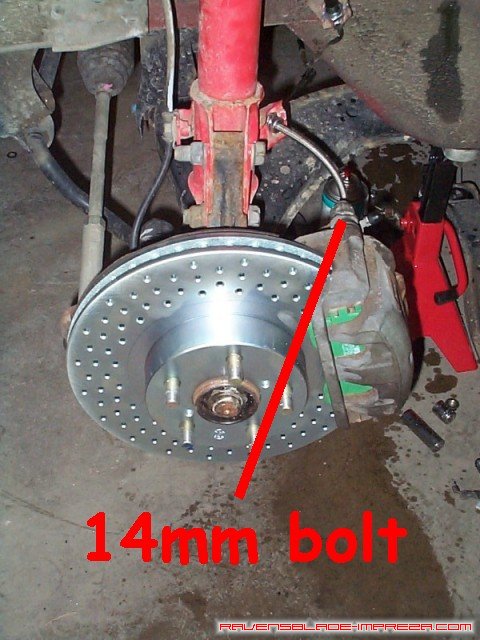
You should at this point have the 2 17mm bolts that hold the caliper bracket to the hub. In this picture, you can see one of 2 14mm bolts that have to be removed to seperate the caliper from the caliper bracket. You will reuse these 14mm bolts to attach the RS caliper to the WRX bracket, and you will reuse the 17mm bolts to reattach the bracket to the hub.
With the calipers completely off, you can simply slide the old rotors off and pop the new ones on.
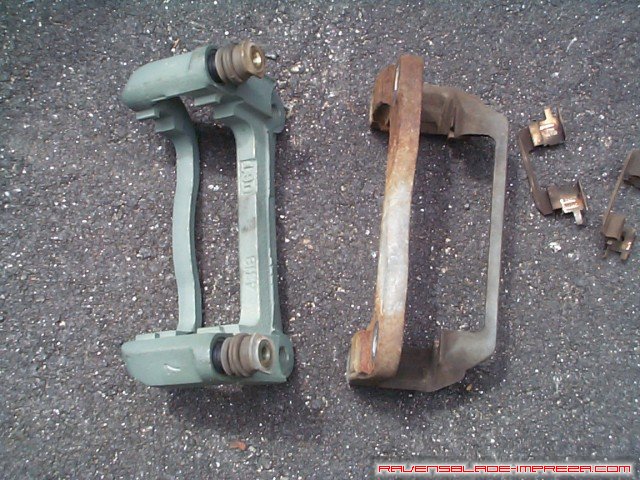
Here we have the new WRX caliper bracket on the left, and the old RS caliper bracket on the right. The WRX caliper bracket is larger to accomodate the wider diameter rotors. All the bits from the stock caliper bracket (the brake pad clips, 2 per side, and the dust-boot covered bracket bolt, again 2 per side) will need to be removed and then reinstalled on the WRX caliper bracket. The brake pad clips go on very easily, but the dust boot bolt is a bit more difficult.
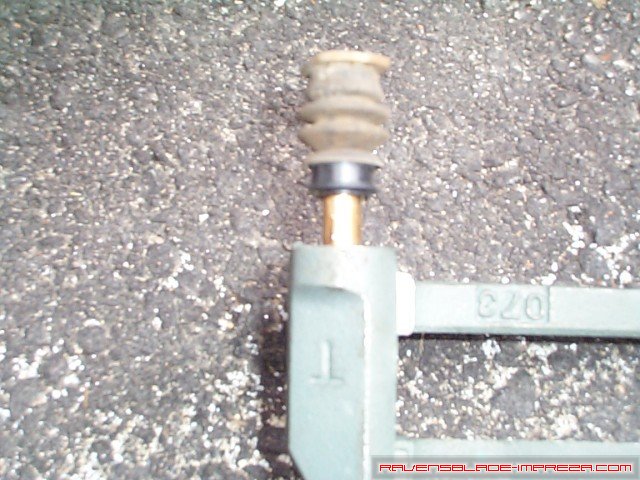
If you take a look at the caliper bracket, there is a small channel on the bottom inside edge of where this bolt goes. The dust boot has a corresponding lip on the bottom edge (right at the bottom of the clean part). You have to force this portion of the boot into the channel on the bracket.
In this picture, you can see how we went about getting this boot into the WRX caliper bracket. Pushing with your fingers on just the bottom portion of the boot, working around in a circle, seemed to work very well. A flat screwdriver would probably have been easier, but would have easily damaged the boot, which you do not want. Take your time, work around pressing down, and it will go in.
With that done, bolt the caliper bracket back onto the hub, using the 17mm socket or open ended wrench, one bolt on top and one on the bottom.
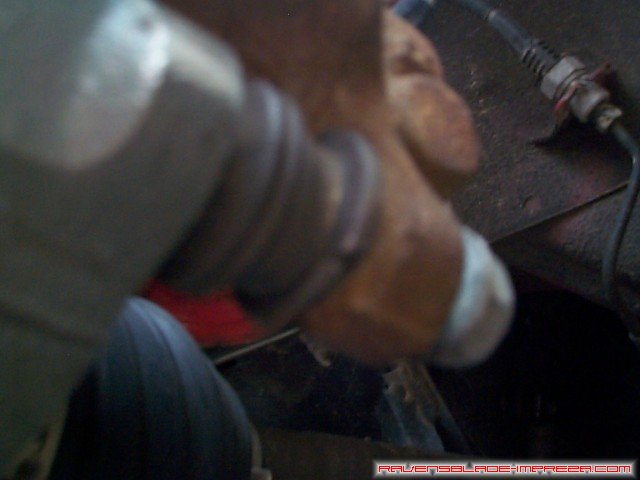
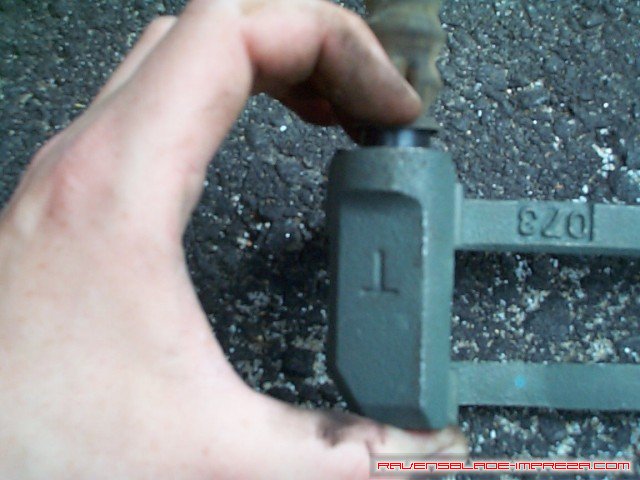
This next bit will be hard to explain, but I will try my best. At the top of the dust boot bolt is an flat surfaced, elliptical shaped flange (this is where the caliper bolts to the bracket) off of which the dust boot hangs. This elliptical flange must be lined up with the tab on the caliper, or you will not be able to get the caliper on the bracket and the bolts tightened down. In this picture, I have the flange oriented in the WRONG direction. The long side of the ellipse should follow the long side of the tab on the caliper. I will try and explain a bit better below.
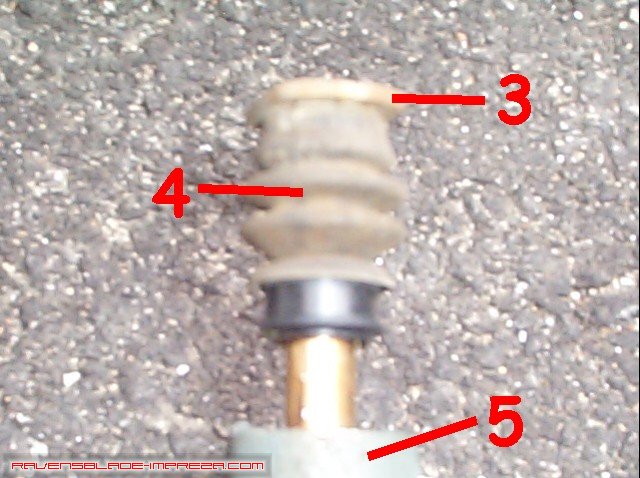
I labelled the pieces in this photo identically to the pieces in my diagram below to avoid confusion. The "3" is the elliptical shaped flange which I was speaking of earlier, "4" is the dust boot, and "5" is the WRX caliper bracket.
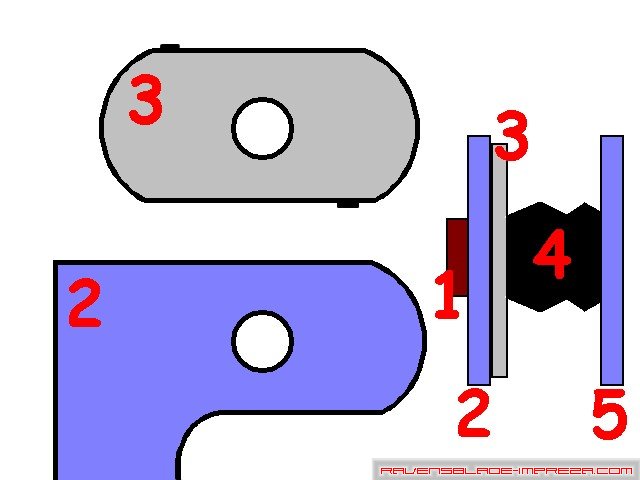
This is my diagram- it is clumsy, but accurate. "1" is the 14mm caliper bracket bolt, "2" is the tab on the RS caliper, "3" is the the elliptical flange, "4" is the dust boot, and "5" is the WRX caliper bracket. The right side of the diagram shows how the pieces all line up once bolted together, and the left side shows how to orient the elliptical flange in relation to the tab on the caliper. There are actually 2 small bumps on the elliptical flange, which hit a similar bump on the caliper tab, to keep the whole bolt/dust boot assembly from turning.
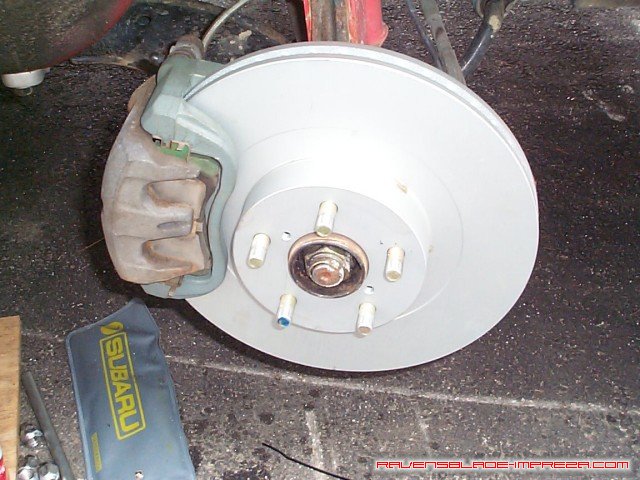
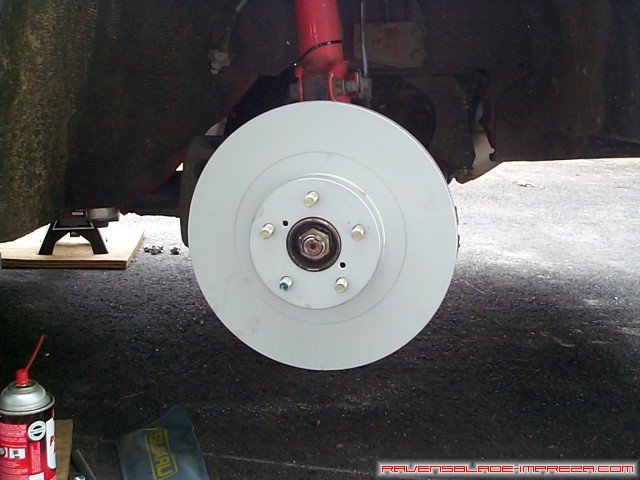
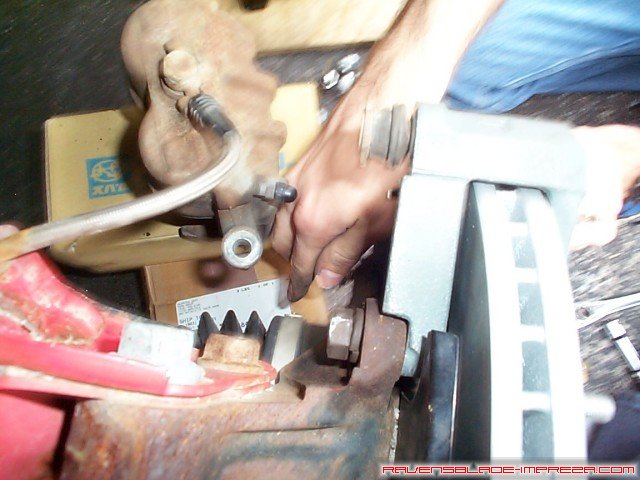
With everything put back together and bolted down again, things are looking great. Make certain you tighten down the 2 14mm and the 2 17mm bolts tightly- you really do not want your calipers falling apart or off when you need them.

This was not an easy shot to get. What you see here is a view of the back side of the dust shield and rotor. The red dot marks the edge of the dust shield, and you can see how much larger the WRX rotor is than the stock RS dust shield.
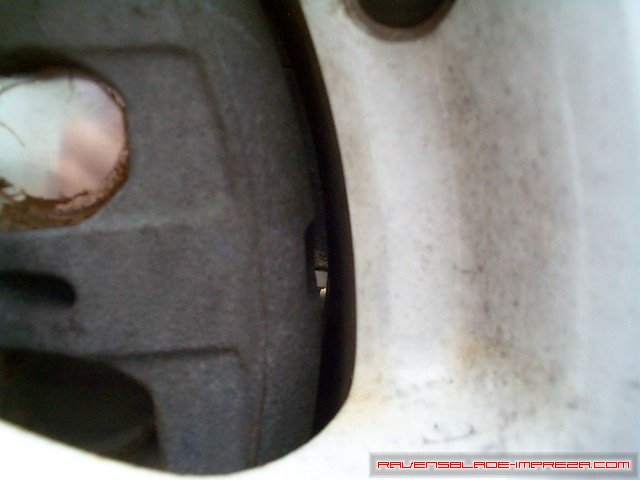
Last photo! You can see that there is only about 1/4 inch of space between the edge of the caliper and the inside edge of the wheel (these are stock 1998 wheels powdercoated white for those who would ask). There is not much more room for brakes in there!
Initial impressions of this setup are very good, but the rotors need to be worn in a bit before undergoing heavy use and testing. The recommendation for my Brembo's was to bring the car from 20mph to 5mph with normal pedal pressure, wait about 10 to 30 seconds, repeat the process 6 or 8 times, then park the car and let the rotors cool down completely (perhaps for an hour or two), and we basically followed this proceedure for these rotors.
Standard Disclaimer: Modification of your car involves risks and may void your warranty. I can not be held responsible for the modifications you consciously decide to undertake nor for the results of doing so.
|
|
