Since I had nearly the whole car apart and a good deal came up, I decided to forgo the smaller, stock IC spray tank from the Version 6 STi in favor of the gigantic 13 liter spray tank from the New Age Spec C. It does not fit exactly as intended, but can be installed with little trouble. The full wiring job is daunting, but I will give you an alternative way to get things working as well. Please note you do not need to remove your whole interior to do this mod, I just happened to have mine all apart, and therefore had to use some photos from other mods in this one. If you should have any questions or comments, feel free to email me.
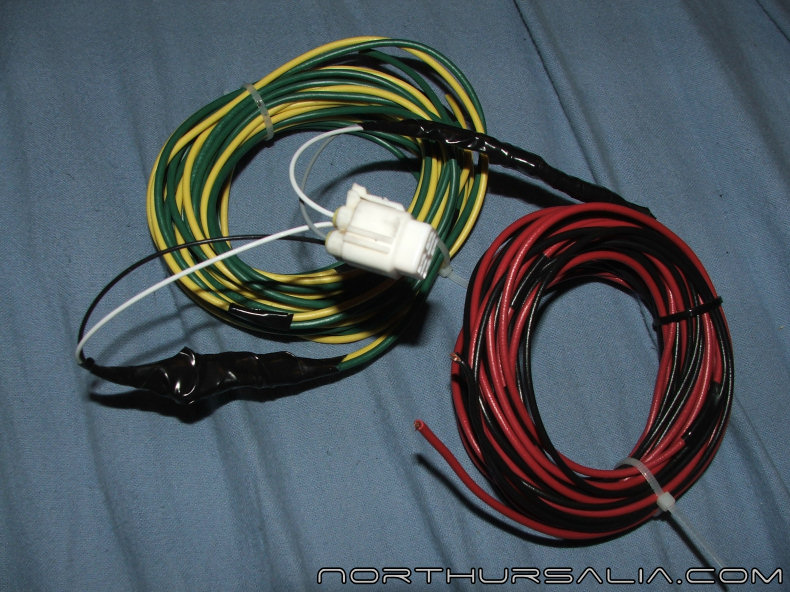
The tank I bought was brand new, and therefore came as it would from a dealership, and with only one side of the connector harness. If you buy this item used, you may well have both sides of the harness connector. Subarus are like Legos though, and it just so happens that the rear O2 sensor plug is the same connector used for this IC spray tank. O2 sensors go bad enough that you can probably pick one up from a local dealership from their warranty bin for nothing, which is what I did. I added several feet of wire to the connector for the two functions- one pair for the pump, one pair for the fluid level sensor. You will also need several feet of washer tubing to carry the fluid to the front of the car and eventually onto the intercooler.
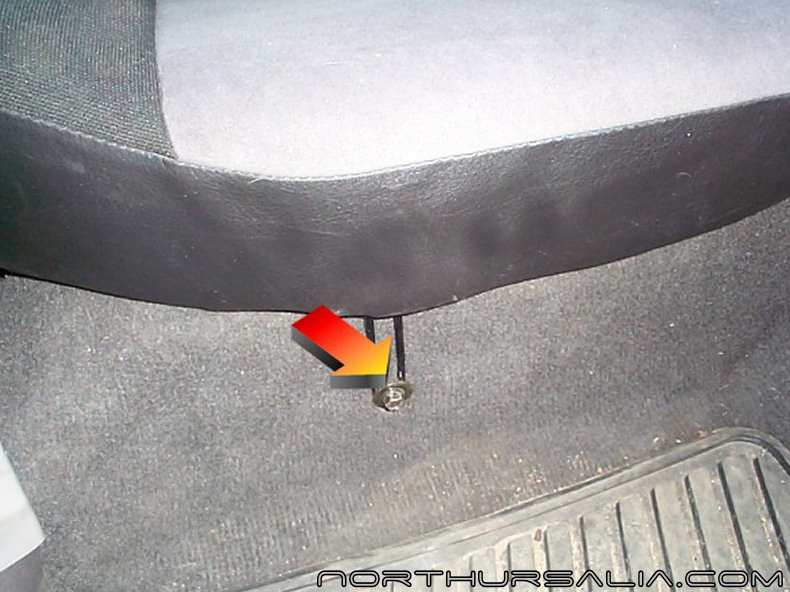
Moving along, it is time to remove your back seat. This goes the same for coupes or sedans- you start by removing the two 12mm bolts holding the seat bottom in. There is one in each rear passenger footwell area. With those two bolts out, push down in the center of the seat and pull forward. You need to dislodge the bottom cushion from the hook on the back cushion (you can see this hook in the next photo, right below the bolt). The seat is very light and easy to remove at this point.
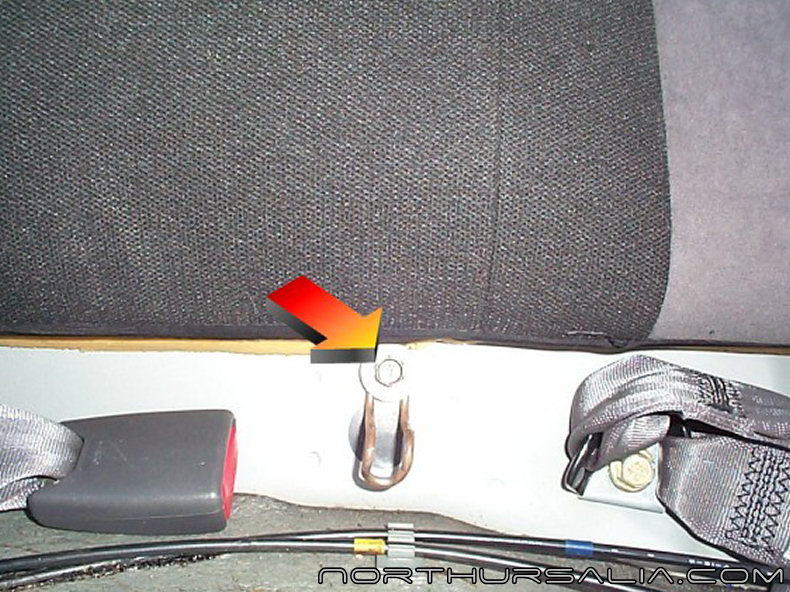
There are three 12mm bolts holding in the rear seat. This is the center one, with the hook for the seat bottom.
This is the passenger side bolt location.
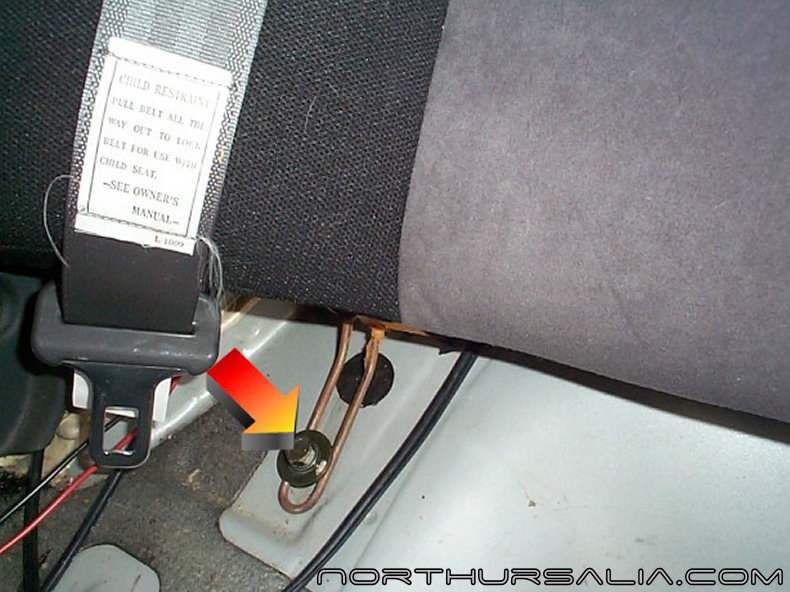
This is the driver side bolt location. When all bolts are out, pull the seat back straight up towards the roof and forward, and it will come right out. This cushion is also very light, much like the seat bottom.
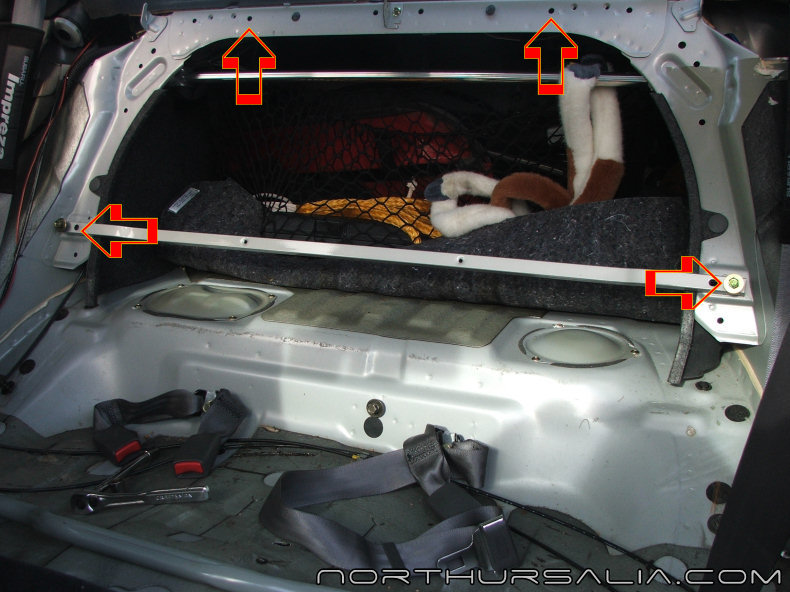
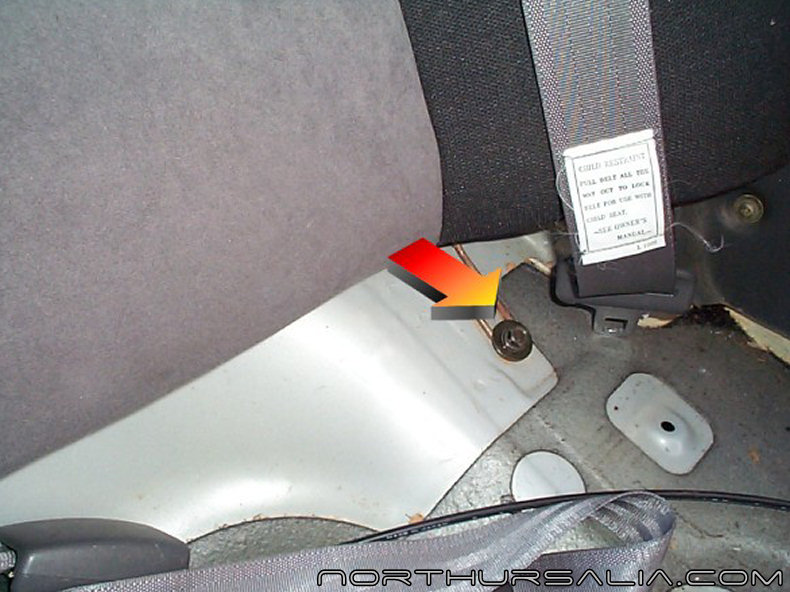
In this photo, you can see the bolts holding in the rear seat stiffening bar. This will need to be removed so the spray tank will fit. The other two arrows mark the points where the brackets for the tank will be attached.
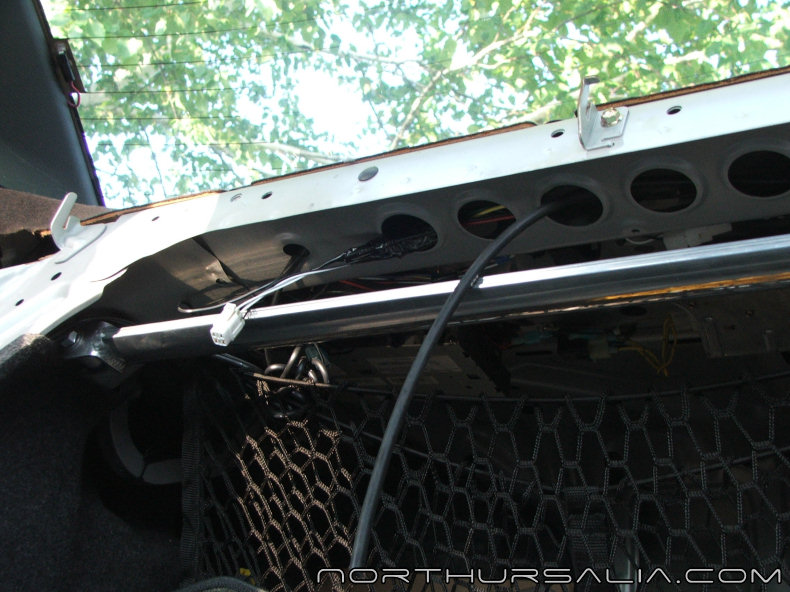
I started by running the four wires and the washer tubing through these holes over to the driver side of the car. You can go up either side, however the switch is on the left side of the car for most folks, and it makes the most sense to use this side.
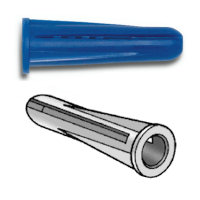
There are a variety of threaded holes that could be used to attach the tank brackets to the rear parcel shelf, however they do not line up quite where they would be useful on the old school cars. Instead, I used two of the non-threaded holes and expanding wall anchors (shown above) to attach the brackets. You tap them in with a hammer, and when you insert the fasteners and tighten them down, they expand and lock into the holes.

And here is the tank, bolted into place; it may not seem like much is holding the tank secure, but I have it adjusted so the bottom of the tank touches the floor and supports the weight. The brackets hold it in place against the seatback, and the seatback pretty much keeps the tank from moving at all.
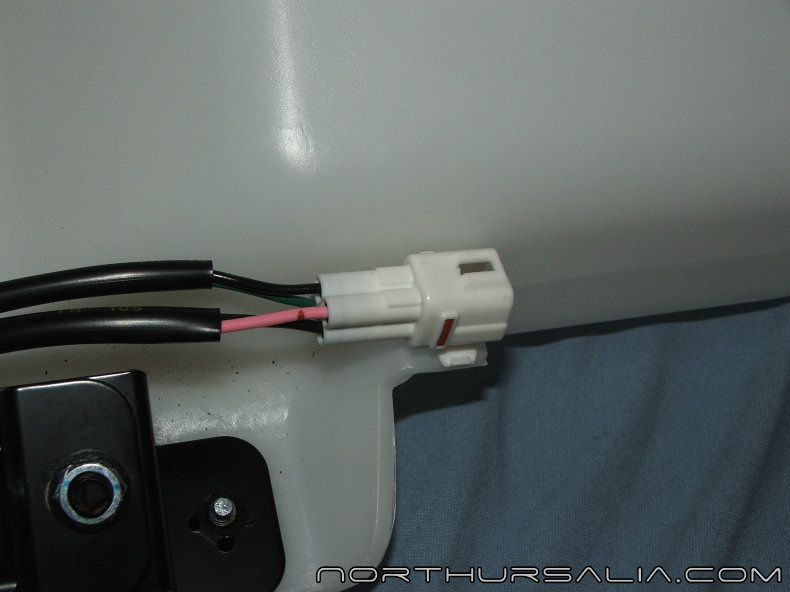
Once the tank is in place, you can clip the connector into the one on the tank side.
Next, start running the wires and the tubing to the front of the car. I ran the wires and tubing in through the strut top area, behind the seatbelt tensioner, and down behind the side panel.
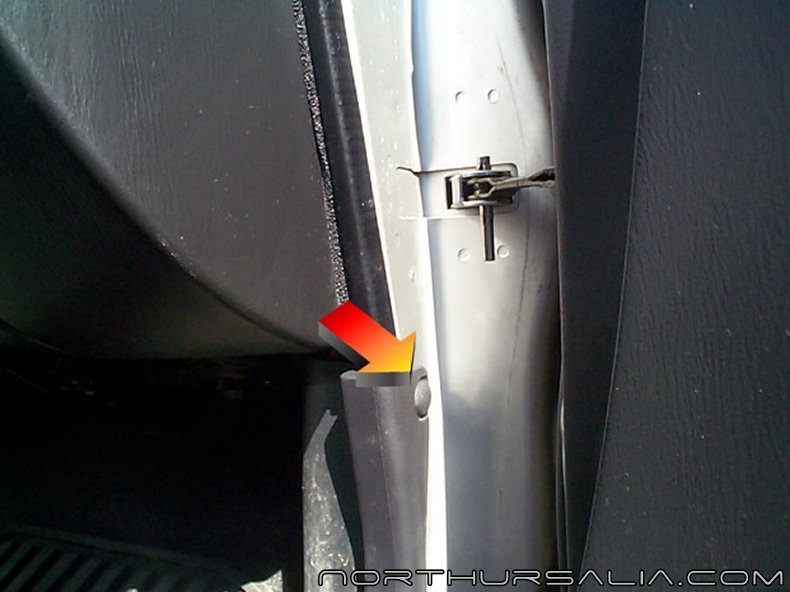
Head the wires and the tubing down behind the side panel and down towards the door sill.
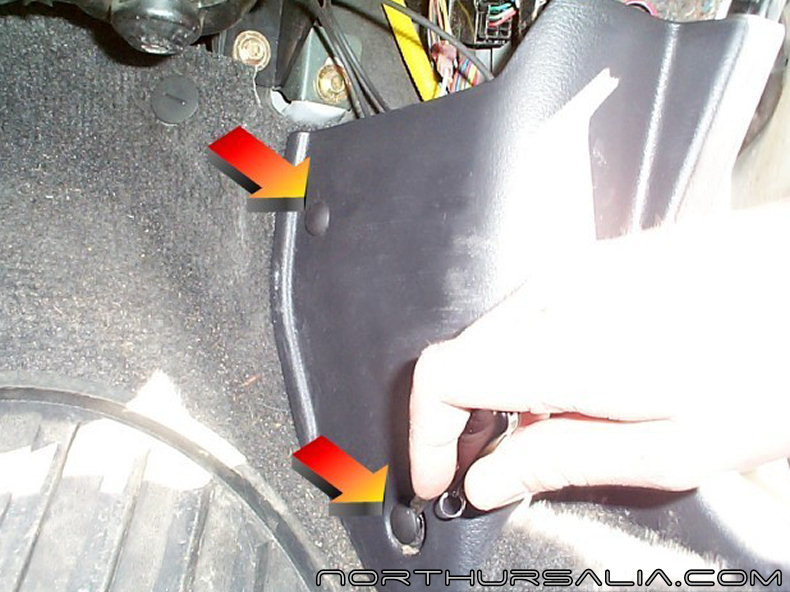
You will need to remove the kickplate now- I borrowed the next few photos from another mod page, but the process is the same. Pull out the plastic push rivets with a small screwdriver. There are two on the inside of this trim panel.
One more push rivet holds this trim piece in, and it can be found just around the bend on the outside.
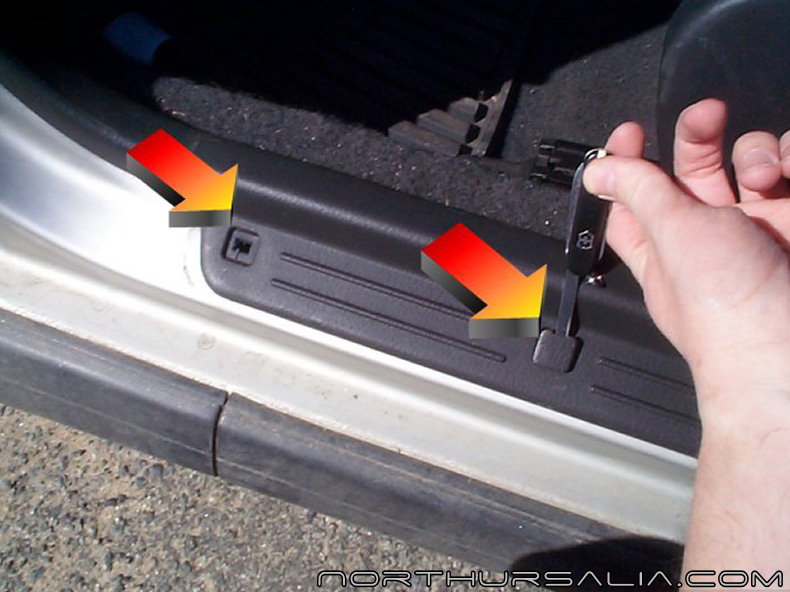
Two final pop rivets hold the last bit of the kick plate trim in, back in the rear footwell area, where the carpet meets the bottom of the back seat. Pull these both out, and all the trim from the door area should pull out easily. Gently pull the carpet away from the sill area to expose the plastic guards below.
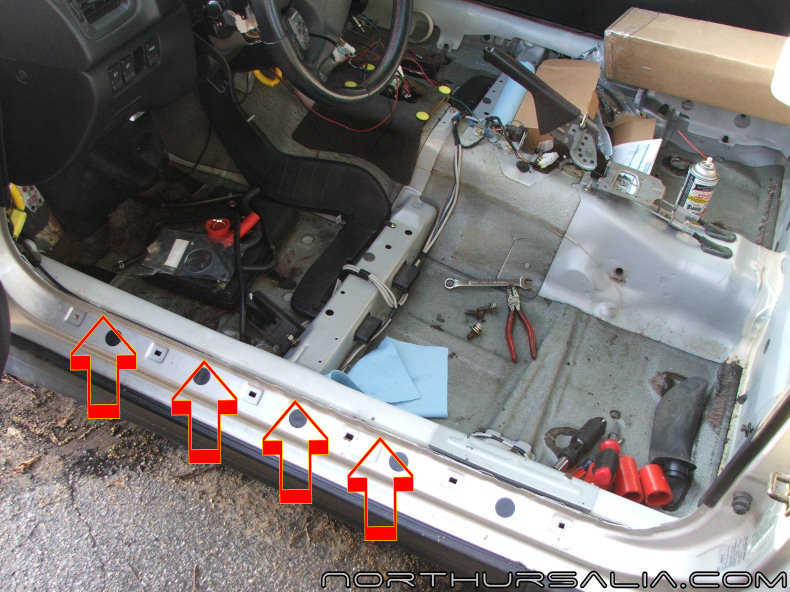
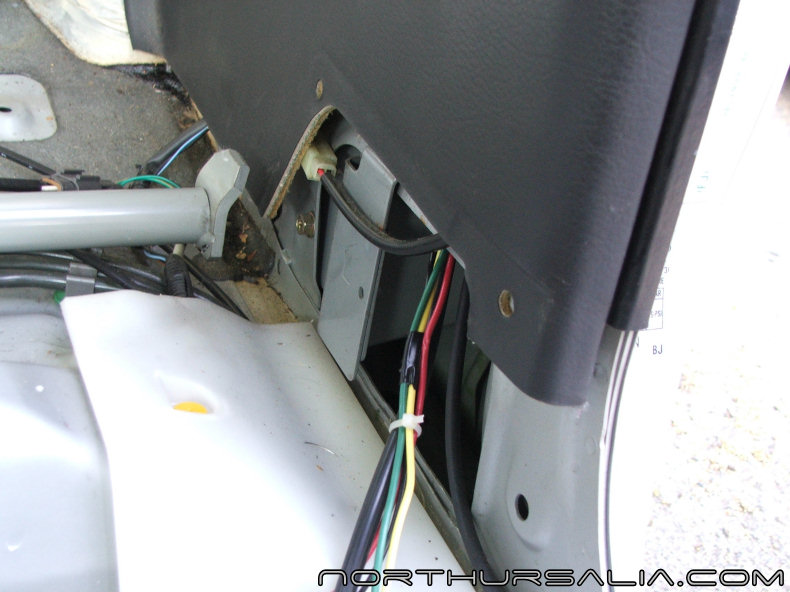
With that trim and the carpet out of the way, you can run the wires and the tubing between the metal door sill and the plastic guards, and up to the dash area.
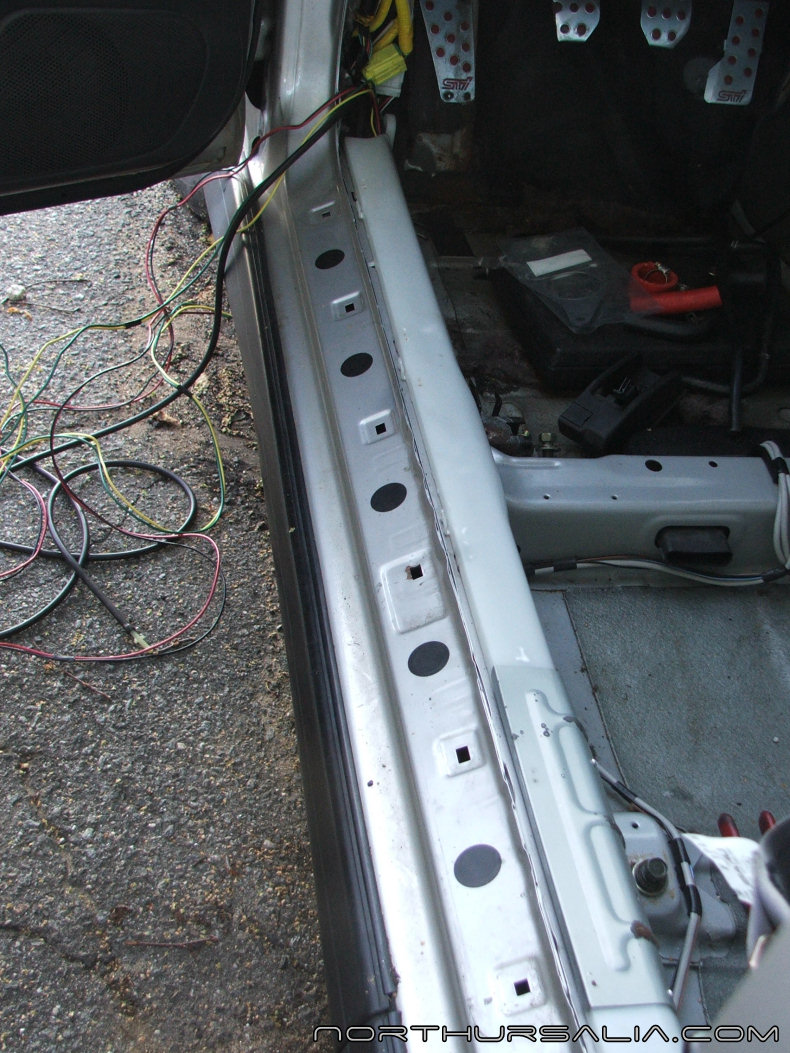
Wires/tubing run all the way under the plastic guards
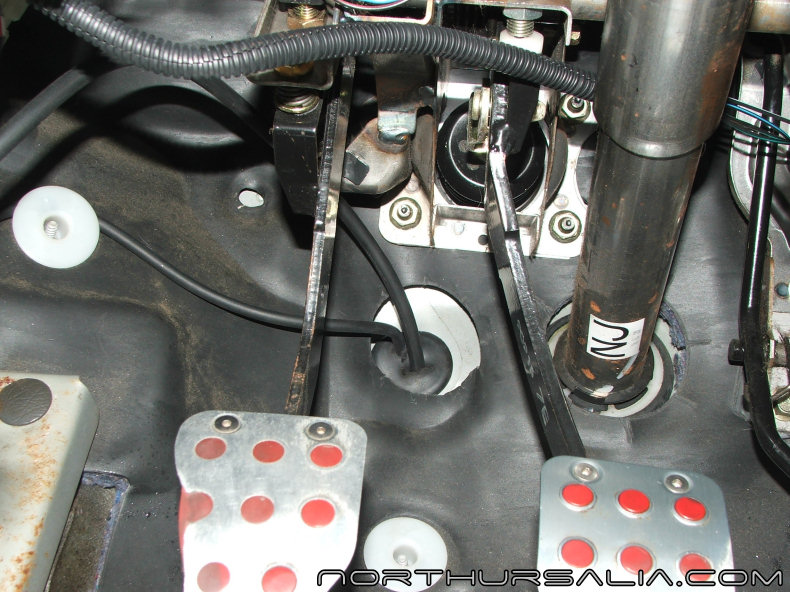
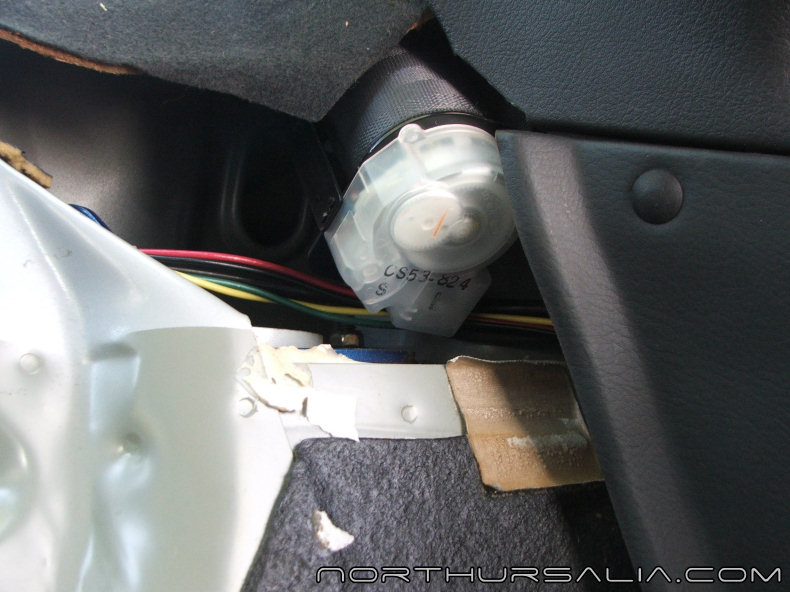
Here, you can see the grommet I ran the tubing through- the second piece of tubing is for the rear wiper spray done in another mod on this site. Check out the wear on the STi clutch pedal!
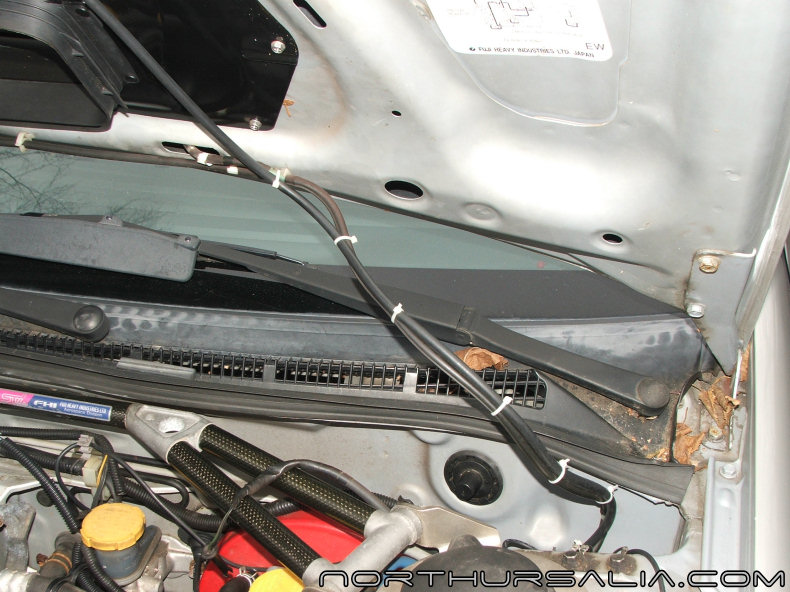
Here, I ran the tubing for the IC sprayer along the tubing for the windshield spray nozzles, and zip tied it securely.
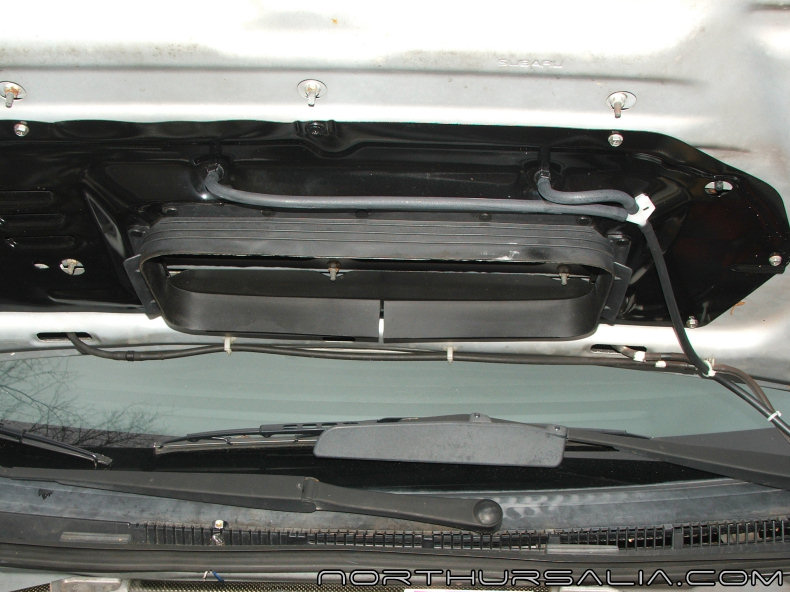
Lastly, I ran the tubing through a Y connector (you can find these in the junkyard or a dealership- it is the same Y used for the windshield spray nozzles) and up to each IC spray nozzle. These are USDM IC spray nozzles, but they are identical to the ones used overseas.
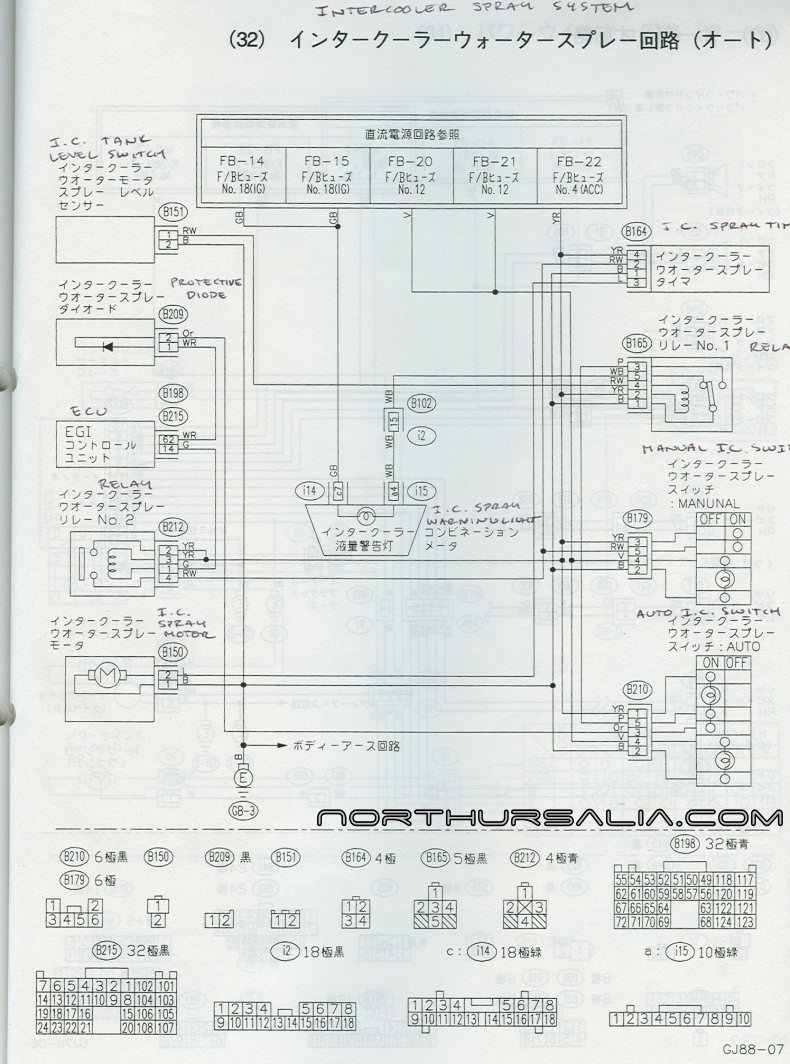
Here is the JDM wiring for the IC spray system; like I said before, it is daunting. You need to buy relays, a diode, and an IC spray timer (you can get one from Rallispec) to get things working fully. I will eventually do all this wiring, as I have a full Version 6 wiring harness from my motor swap to play with.
Alternatively and to just get things working, you can wire just the pump to get it working. You can get any momentary switch, run power to it, connect one wire of the pair for the IC spray pump to the switch, and the other wire to a chassis ground. The pump will only run when you press the momentary switch, but it will work. The full STi diagram shown above will allow the sprayer to run for 3 seconds and then auto shut off, as well as notify you when the tank is low on fluid.
|
|
